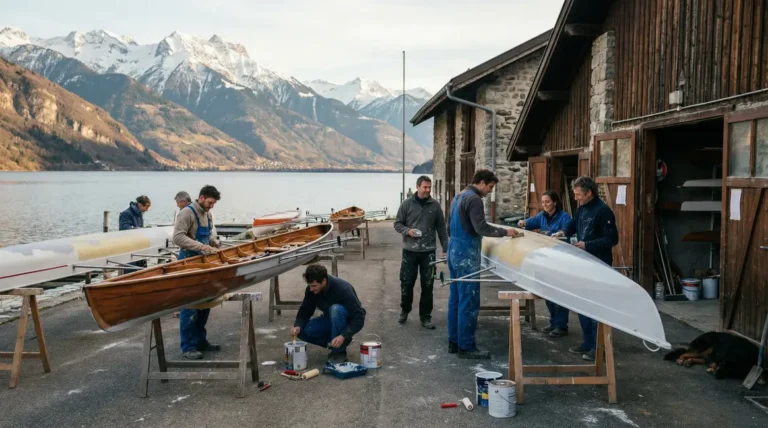
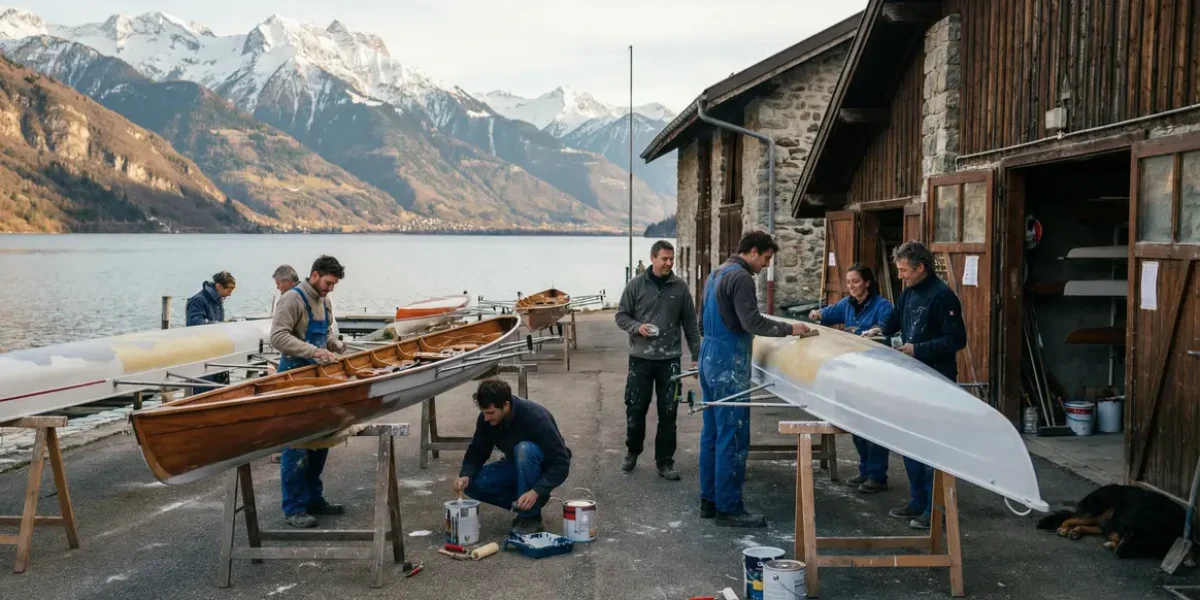
Painting the hull of a boat is an essential step in maintaining the efficiency and longevity of its boat. Whether it is for protection against osmosis, corrosion or to optimize the slide on the water during training or associative outings, understanding each phase of the process is essential when changing in the demanding environment of the d'aviron clubs of the Rhône-Alpes region. This guide is intended for all those who wish to maintain their equipment or engage in the collective maintenance of local associative fleets.
Contents
Why paint the hull of a boat
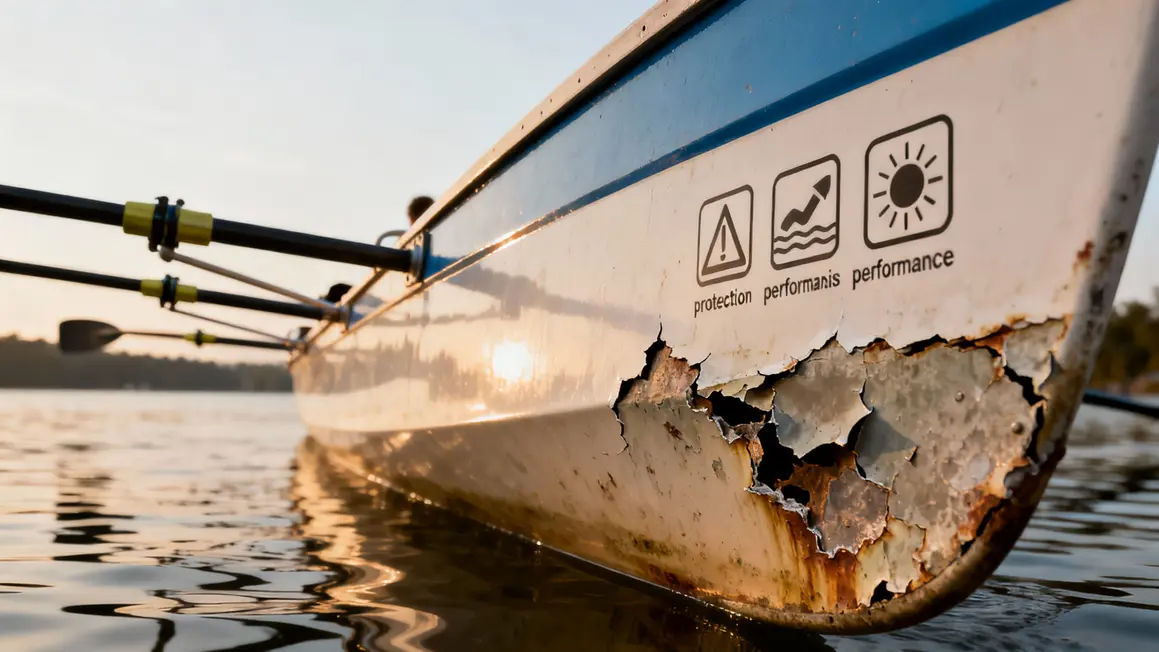
Painting the hull of a boat is not only about looking at the appearance of its boat: it is above all about protecting the structure from the permanent aggressions of water, sun and aquatic fauna. A suitable paint creates a barrier that limits corrosion, osmosis and premature wear. On aluminium or steel boats, neglecting paint promotes corrosion, while polyester hulls are exposed to the risk of diosmosis, characterized by blistering.
Sports performance itself depends on the care provided to the surface. A smooth hull reduces drag, allowing better effort in training or racing. Finally, a beautiful, well-maintained hull demonstrates the seriousness of volunteers and values clubs and owners during material exchanges or in local partnerships.
The rate of repainting depends on the type of navigation and the frequency of use. A simple visual control often suffices: paint that scalves, blistered areas or wear of antifouling are good indicators of a need for intervention. Adapting frequency (often annual or every two years) is one of the keys to ensuring the longevity of a fleet, while streamlining the club's material budget.
Prepare the hull for a durable and aesthetic result
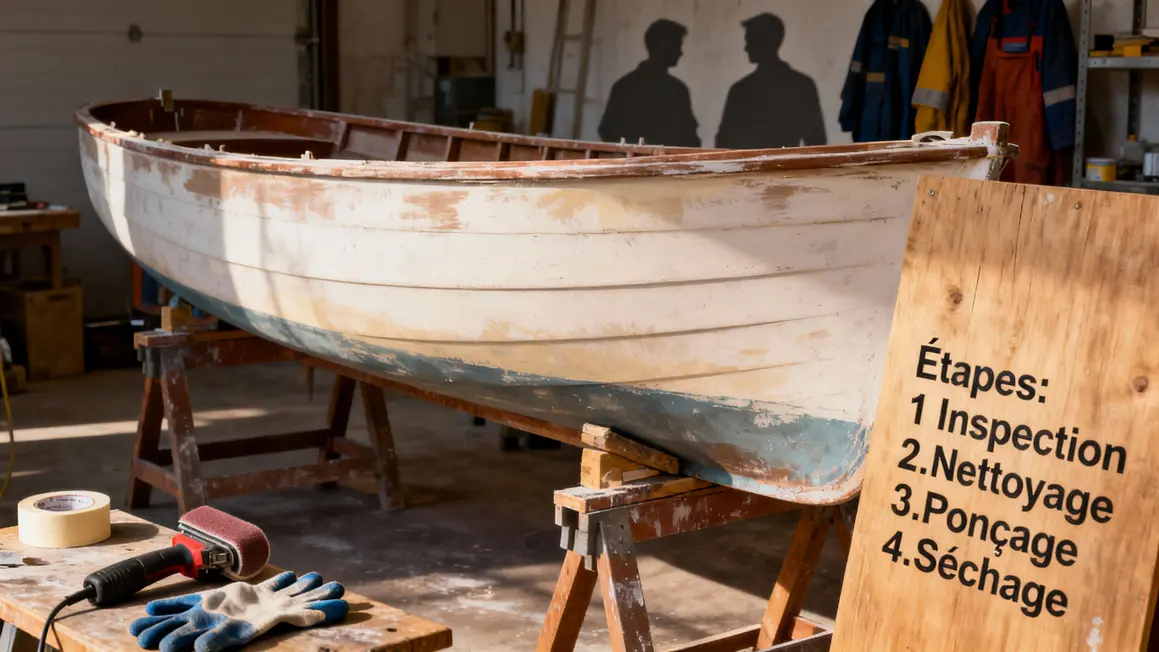
Success is mainly due to preparation. The material of the hull must first be identified in order to apply the appropriate protocol: the wood requires strict moisture controls; aluminium requires increased vigilance against oxidation; composites and polyesters invite to monitor the appearance of signs of osmosis.
- Start with a careful inspection of the defects (clusters, cracks, marine deposits, porous areas).
- Clean the surface at high pressure and degrease with a suitable product.
- Carefully dry the hull.
- Sand with a P120 to P180 grain to ensure gripping; use stripping on heavily damaged areas.
- Apply a Epoxy mastic on defects located before the final sanding.
Never neglect the full drying time before starting the paint: any trapped moisture will compromise the maintenance of the coating.
Choose suitable paint for optimal protection
There are several categories of marine paints by area and environment:
- Finish for dead works: for emerging parts, more focused on aesthetics and UV resistance.
- Antifouling for living works: essential for surfaces in direct contact with water. There are Erodible antifouling (for regular navigation), at hard matrix (fast or often dry vessels) and Self-polluting (optimal versatility).
- Epoxy primaries: applied in underlay on polyester or aluminum to strengthen adhesion and limit osmosis.
Choose well according to the material of the hull and the environment (fresh water/sea, regional ecological regulation). The identification of the old product is crucial in case of retouching: incompatible, a new antifouling can cause unexpected reactions.
Equipment and conditions necessary for effective painting
- Roll and brushes for regular application; Mixing tray and protective sheets.
- Masking tape for sensitive lines (flotation line, untreated areas).
- Safety equipment: suit, cartridge mask, gloves, glasses: mandatory in the presence of antifouling and solvents.
- Ensure adequate ventilation and avoid moisture during application.
- Ideal temperature: 10 to 25°Chumidity less than 85 %, to be adapted according to manufacturer's recommendations.
- Observe waste sorting and management instructions at community or port sites to limit environmental impact.
Application of paint and antifouling step by step
| Step | Description |
|---|---|
| 1. Masking | Protects the flotation line and the parts not to be painted with masking tape. |
| 2. Primary | Apply an appropriate primary (epoxy on polyester or alu), in cross layers for uniformity. |
| 3. Mixture | Homogenizes each pot; possible dilution according to indications. |
| 4. Implementation | Roll or brush cross layers; work in sections on fresh surface to avoid connections. |
| 5. Overlay | Apply 2 to 3 layers, with respect to drying times between each. |
| 6. Strengthenings | Strengthens the dhetreave, saffron, keel zones with one or two additional passages. |
| 7. Expectation | Respect the waiting time before watering to leave the paint « curing ». |
To go further, consult the manufacturer's recommendations or the French Federation ofviron for the maintenance of associative equipment.
Finishing and maintenance of the hull after painting
- Possible application of a protective varnish when the surface is dry to enhance shine and concentrate protection.
- Alternating the antifouling colors to each layer makes it possible to anticipate wear: common practice in club.
- Regular cleaning of the hull during water outlets (intermediate curing, post-regatta inspection).
- Immediate repairs on micro scratches or defects observed: mastic or retouch paint.
- Annual interview planning (spring before season, end of summer for revision): a method that stabilizes the budget for associative maintenance.
How to correct errors or catch a failed painting
The appearance of blisters, trimmings or adhesion defects is not irreversible. Finely sanding to smooth and distribute the surface, then taking over the paint in thin layers often suffices.
In case of incomplete treatment, unexpected chemical reaction or general take-off, mechanical or chemical stripping is required (respecting all environmental and individual protections). Prevention remains the key: never shorten the preparation steps or loosen drying.
Regular monitoring and ad hoc repairs avoid subsequent massive interventions. A retouched area must be integrated into the annual monitoring: this is often where any weaknesses will reappear.
FAQ on shell paint and antifouling
Can we apply antifouling to a new hull?
Yes, after applying an epoxy primary to improve adhesion. Cleaning and degreasing necessary before intervention, whatever the material.
What is the ideal drying time between layers?
At 20°C, from 4 to 6h for most products. Plus if it's cool or wet. Always read the manufacturer's card.
How much paint is needed?
On average 0.3 to 0.5L per square metre of hull for one layer. Adapt according to the actual surface (manufacturer manual or online calculation).
To go further in customizing your boat, discover more tips to customize your water sports equipment: concrete tips and inspirations.
Before starting to paint the hull of your boat, it may be useful to consult this lexicon row : all technical terms and manoeuvres explained in order to better understand the specificities related to the maintenance of the ships d'aviron.
To ensure optimal protection of your boat, it is essential to master the good practices explained in this guide on how to maintain your nautical equipment: practical methods and tips to extend your life.
What differences between types of antifouling?
- Erodible : sous gradually, adapted to frequent navigation.
- Hard matrix : persistent layer, ideal for fast boats.
- Self-polished : adjusts erosion at the speed of the boat, superior versatility.
Can we paint on an old antifouling device?
Yes, if the surface is healthy and compatible: cleaning, inspection and local sanding are recommended. Changing type often requires a primary liaison.
Executive summary: Methodically prepare the shell, choose the type of paint according to local needs and never neglect safety or quality of application are the fundamentals of a successful and durable hull. Maintaining its rowing equipment regularly contributes to the safety, collective performance and reliability of the club, while valuing the work of volunteers.
What are your feedback on the painting of shells in a club or in a personal capacity? A tip to share or a difficulty encountered in the maintenance of associative material? Don't hesitate to enrich the article in comment.
If you found this guide useful, think about sharing it around you or on your club's internal networks: a well-maintained fleet is everyone's business!
Technical, associative or field topics to explore? Share your suggestions or support needs through our contact page. For further safety or regulatory issues, please also refer to the official sites mentioned, such as the French Federation ofviron or the resources of the ANSM.
Text written by Marie F., material maintenance specialist and active volunteer at several d'aviron clubs in the Rhône-Alpes region (MAJ: June 2024).
Updated on 21 March 2026