
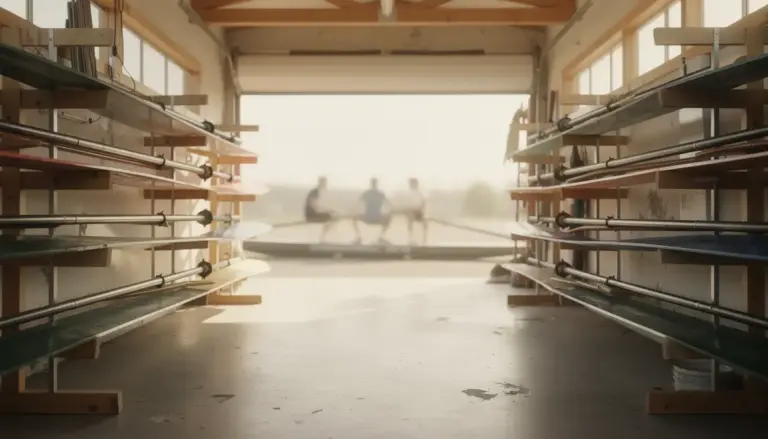
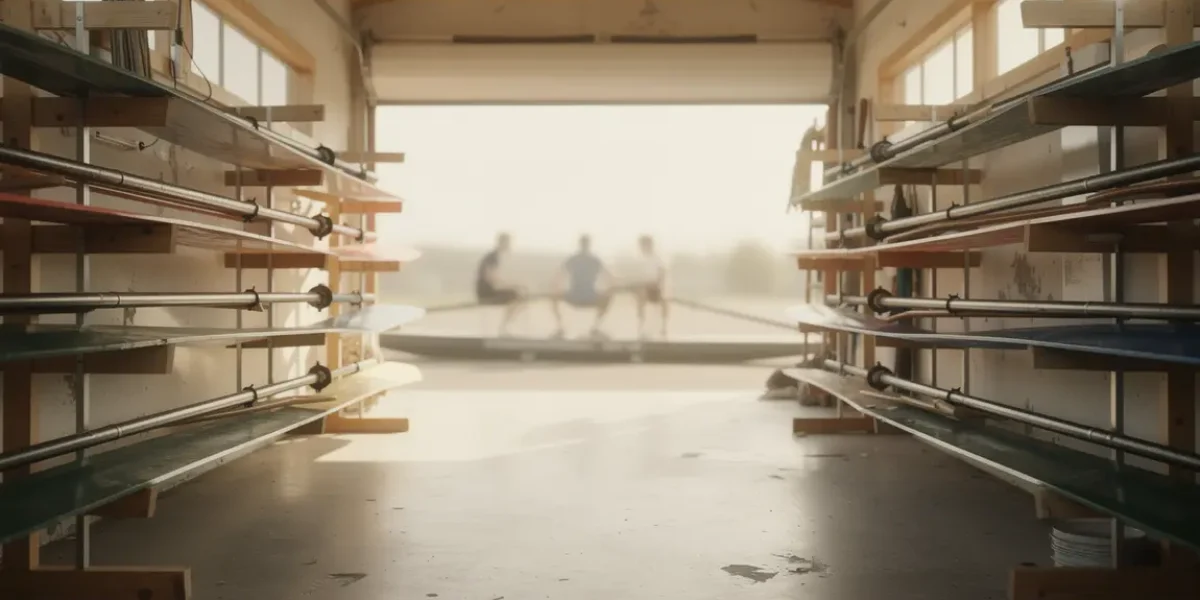
Organizing the storage of rowing trains, whether for a club in Rhône-Alpes or at home, is quickly essential when you want to gain space, protect the equipment and simplify the life of the group. Looking for a concrete, reliable and durable DIY solution? This guide details the essential points to make yourself a perfectly adapted support.
Contents
Understand the specific needs of a support for rowing trains
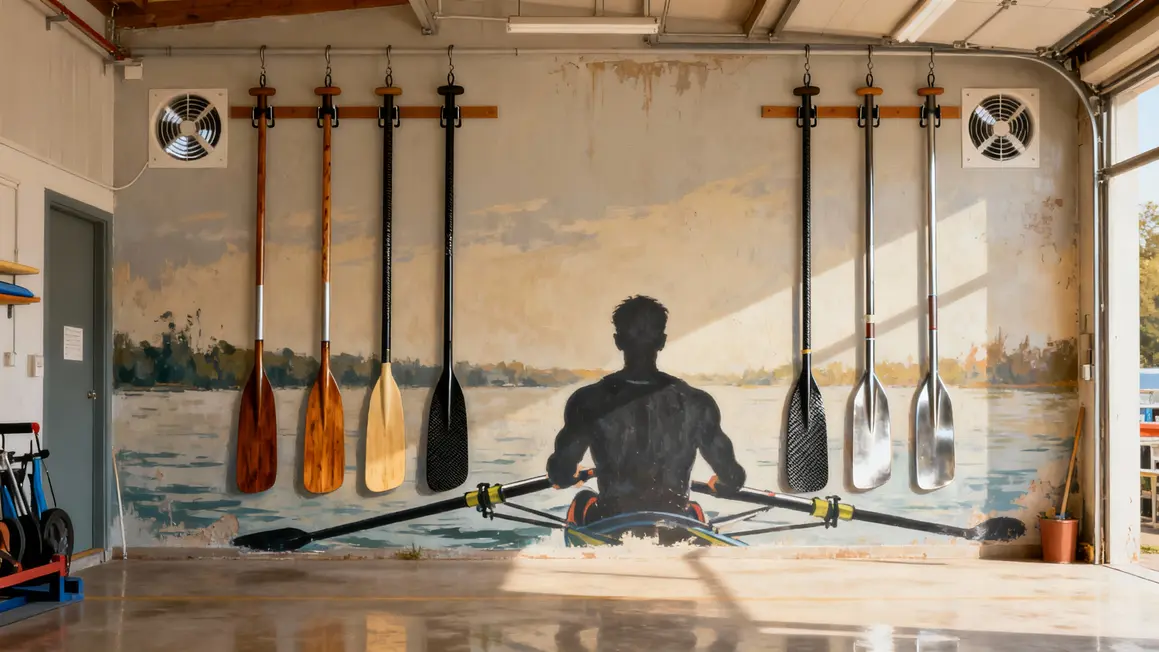
A good support ensures the protection, safety and durability of the trainsets, whether made of carbon, wood or aluminium. Misconceived storage exposes to cracks, deformations and even accidents during handling. An effective support separates each row, limits congestion (especially in club premises) and facilitates ventilation to avoid mould and corrosion, especially for metal trains.
- Provide solutions that allow to elevate trainsets, freeing up ground space for boats and wagons.
- Promote natural ventilation avoiding materials that retain water.
- Adapt height and ease of access to all rowers, especially the youngest.
Solidity, stability and ease of use are essential for intensive use, especially in a club where several people handle the equipment.
Tools and materials needed to make your support
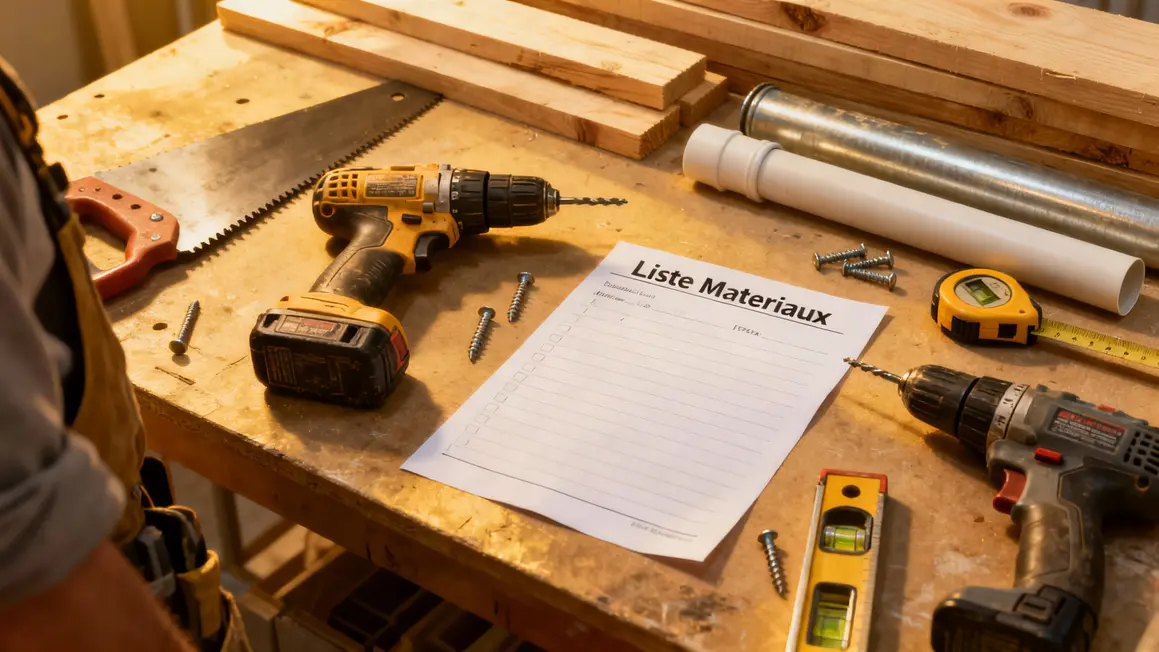
The choice of material will depend on the location and budget:
- Solid wood (honey, beech): solid and aesthetic, but to be treated against moisture.
- Galvanized metal or aluminium : lightweight, robust, perfect for outdoors.
- PVC : economical, easy to handle, but less durable in intensive use.
Basic tools include drill, saw, meter, level, screws or bolts, squares. For metal, add metal saws or grinders, and possibly a welding station with the appropriate safety equipment. The finish passes through abrasive paper or a lime and the application of a protection (finish, paint or anti-corrosion treatment).
Experience advice: Make an accurate list before starting and focus on quality, to avoid frequent changes.
Key steps to design and assemble functional support
- Evaluate the available space: Take into account the length of the trainsets (2.75 m to 3.75 m), provide 10 to 15 cm of margin on each side.
- Make a support point distribution scheme to ensure stability and balance.
Assembly of the structure
- Cuts key amounts according to plan.
- Assembling the base using screws or squares to keep straight angles, then attach equidistant transverse elements.
- Added stoppers covered with foam or rubber on supports to limit abrasion.
Installation and stability
- Wall mounting by suitable ankles, or, for a mobile version, installation of locking castors.
- Verification of the level of the assembly and, if necessary, installation of adjustable skates to compensate for an irregular ground.
Treat the finish
- Bone sanding
- Application of paint, varnish or protective oil depending on material and indoor/outdoor use
Consider testing stability with multiple trainsets to adjust if needed.
Tips for Optimizing Support Use and Maintenance
- Install foam strips on contact areas: less wear, increased protection.
- Organisation according to the frequency of use of the trainsets (the most requested within range).
- Inspect support, clean regularly, check fasteners and treat wood or metal if necessary.
- For use on irregular ground: monitor the condition of wheels and brakes.
Regular maintenance (cleaning, lubrication of moving elements, anti-rust inspection) ensures longevity and safety.
Practical and ready-to-use alternatives
For clubs or individuals without the time or tools to tinker, there are ready-to-install supports. Metal racks offer excellent capacity and robust support, particularly suitable for shared or wet spaces. Wood remains a good compromise, especially for a sheltered area, provided that it is properly maintained.
Comparison of media purchased vs DIY
| Criteria | Ready-to-use supports | DIY media |
|---|---|---|
| Initial cost | Higher in specialized version | Variable, often more economical in single materials |
| Adaptability | Standardised | Fully customizable |
| Sustainability | Often optimal, tested | Depends on the design and choice of materials |
| Installation time | Immediate action | Completion time according to complexity |
Specialized brands and large platforms offer a wide range of racks tested for rowing. For tailor-made needs or to benefit from an optimized budget, the DIY often remains the preferred option for committed clubs.
For optimal and tailor-made storage, it is useful to know how to make a rowing ram: practical steps and tips, in order to adapt your support to your equipment.
In addition, find out how repair a broken rowing row: essential steps for successful repair to extend the life of your equipment.
To go further in customizing your equipment, discover inspirational ideas and tips in this guide dedicated to the DIY decoration: techniques to transform your rowing trains.
Protecting the trains and organizing the space of its club is also to avoid expensive replacements and ensure a safe practice for all. DIY solutions offer flexibility and cost savings if the project is anticipated, while ready-to-install media provide a certain saving of time. Have you ever made or bought a support for your club or at home? Share your feedback and tips in the comments! If this article has been helpful, don't hesitate to pass it on to your colleagues or the volunteer team in order to maximize the sharing of local good practices.
What other storage or maintenance issues would you like to explore? Your suggestions inspire our future publications.
Informate with specialized dealers or the French Federation ofviron allows to refine its choice while remaining on the page of innovations and safety standards.
Text written by Marie F., a club rower since 2012 and a logistics volunteer for several regional events.
Updated on 21 March 2026