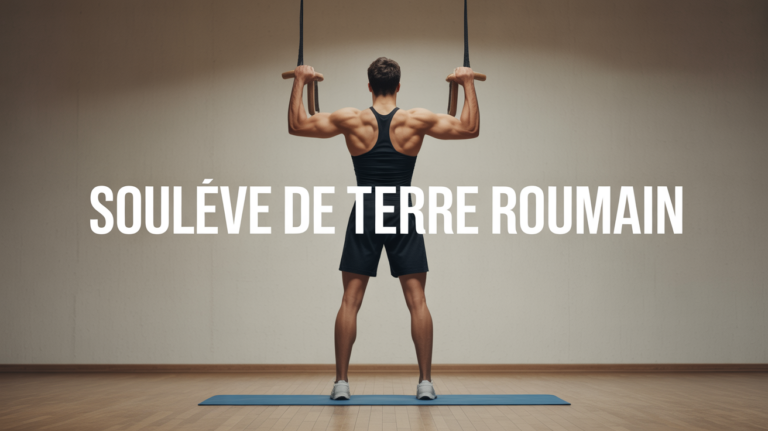
Between security back efficiency and effectiveness ischios, the rise of Romanian ground with dumbbells imposes itself as a valuable support for rowers or amateur athletes. I saw this movement refine the posture of practitioners, whether they begin or are seasoned, in my club in Lyon. He finds his place in a routine at home, without heavy equipment or technical pressure. Over twenty years, as on the docks, this simple gesture stopped serving me: it muscled the posterior chain, improved mobility and compensated for many weaknesses, while preserving the back. What makes the difference is to learn at your own pace and focus on muscle sensation rather than the weight raised (some great coaches in physical preparation always remind this point).
Contents
What is the rise of Romanian soil with dumbbells?
Do you want to strengthen your buttocks, your ischios and the lower back, but without falling into the trap of a complex technique? The rise of Romanian soil with dumbbells seduces those who seek to progress functionally, to gain mobility, without creating lumbar discomfort. This movement is intended for both beginners and confirmed athletes (in my group, everyone finds themselves there, from juniors to veterans!).
Unlike the classic bar version, where the load is placed on the floor at each rehearsal, the Romanian version requires to keep the dumbbells in tension, legs almost tense, and all the work is done around the hip. The load can remain at half height: the idea is mainly the tension in the posterior chain and a stable posture.
For those who like to understand the groups involved – we find above all:
- An important recruitment of ischio-legs, a real motor of movement
- Activation of the buttocks, in particular to bring the basin back during the uphill phase
- Lower back work and whole trunk to stabilize
- A complementary engagement of the forearms and the back according to the adjustment (small wink to those who strongly tighten the grip on their rower or dumbbell...)
What about the dumbbells? Less imbalance between each side, an intuitive gesture, and a modular progression at home or in the room, with loads ranging from 2.5 to 60 kg. We're going back a little further.
Execution technique: step by step
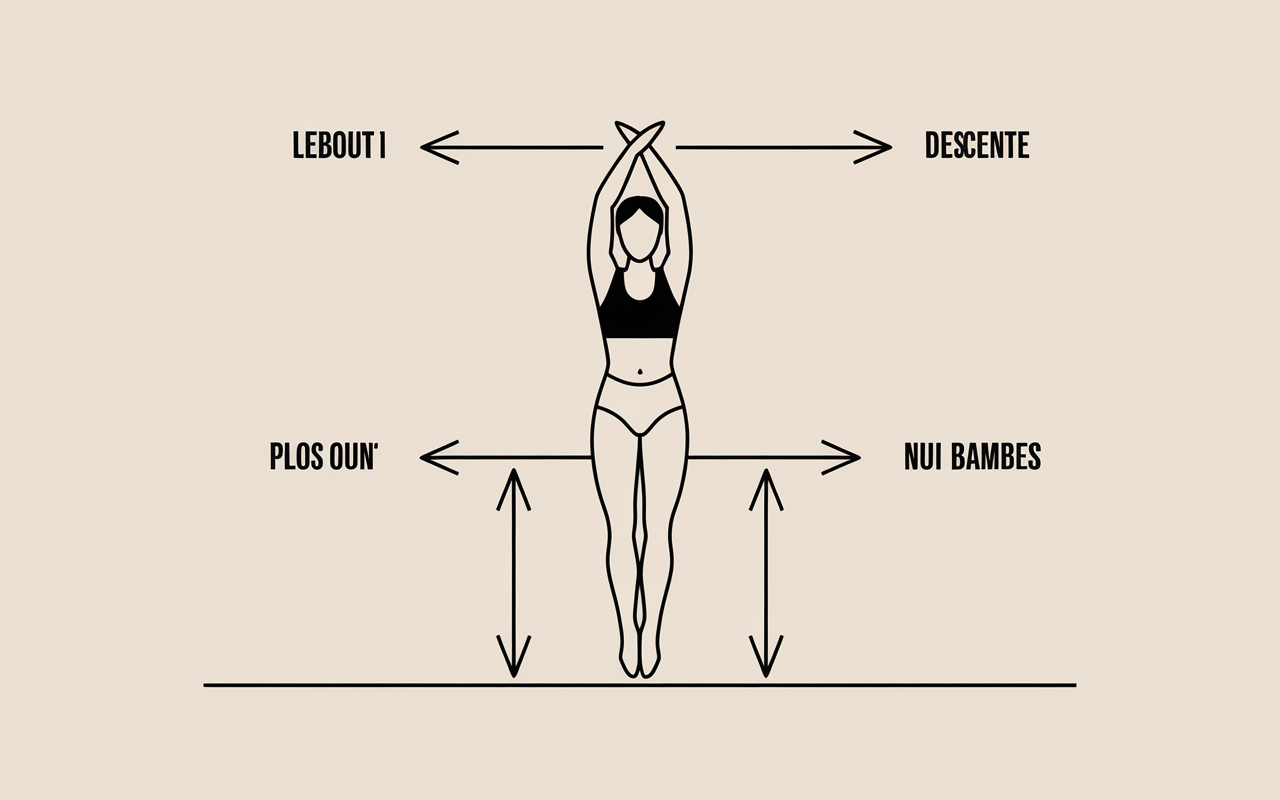
To succeed in this movement depends on 95% of a technique – that's what I monitor before anything else when I frame my athletes (a physiotherapist specialized in rowing recently evoked the same approach...). Here is the trip to be preferred, step after step, without unnecessary stress:
Placement and initial posture
Start by standing, feet spaced according to the width of your shoulders, dumbbells in hand. The knees, on the other hand, remain flexible – neither blocked nor too bent. The main aim is to maintain a straight, engaged back, slightly tightened shoulder blades (think of the image of a backpack a little too small on the shoulders ... it works for many novices !).
During each rehearsal, blow well, look forward and perceive the tension in the buttocks and ischios. Sometimes, after several series, some even feel a slight « hot stroke » in the back of the leg: this is good sign, not worried until the back reacts.
Downhill movement: hip hinge
Push the hips back, while keeping the knees barely folded. Let the dumbbells touch your thighs, descend along the legs, until you notice a marked stretch. Go down without forcing, never at the expense of the shape of the back. The latter must remain aligned: if it starts to round off, stop the amplitude. As a rule, the descent ends between the top of the tibia and the ankle (in my club, few really touch the ground and those who sometimes try to compensate badly... so be careful!).
On the load side, we regularly find these markers: start with 2.5 to 5 kg per dumbbell (fine handle 25 mm), progress around 7.5 to 20 kg (hose 35 mm) for those who control. Always check the quality of your socket.
Lift: contraction and thrust
When ascending, pull the hips forward while keeping the back well launched, exhale on the effort, contract strong buttocks and ischios then let the tension rise. It is not a thrust of the lumbars, but rather a return of the pelvis under the shoulders, keeping the load as close to the body. For those looking for a simple marker, imagine pressing in the heel rather than in the toes.
An advice shared by old rowers: choosing a point of reference on the ground to fix the look, it sometimes helps not to lose the posture.
Comparison of amplitudes and loads by level
| Level | Amplitude (descent) | Recommended load |
|---|---|---|
| Beginner | Until mid-tibia | 2.5 – 5 kg / dumbbell |
| Intermediate | To the bottom of the tibia | 7.5 – 15 kg / dumbbell |
| Confirmed | Above the ankle | 20 kg +/bell |
Safety: the main mistakes to avoid
A movement launched too quickly or poorly prepared may impose unwanted constraints on the bottom of the back. To protect yourself from this, it is often recommended to go smoothly – nothing more demotivating than an injury that moves away from the room or rowing machine for several weeks.
Round back: the classic trap
The main danger remains rounding the back down, especially when fatigue settles or the load becomes too ambitious. As soon as you perceive a loss of tone in the lower back, the right reflex: stop, rest the dumbbell. There is no need to try to get down lower at all costs, mobility gains over time. Some beginners report a marked improvement in their flexibility in just a few sessions, provided they respect the progress.
Gradually, you will see that the hip joint opens better and that the length increases, but without precipitating the evolution. It should be recalled that the stability and comfort of the back take precedence over the depth of the movement. Many rowers thus discover a new safety reflex that protects them on the water as well as in strength training.
Excessive load or bad take
Mode your choice of handles: those of 25 mm for 2.5 to 5 kg are ideal for simmering, while the 35 mm (for loads of 7.5 to 60 kg) are used to advance afterwards. An inappropriate grip or a coating that slips and the accident watches, especially at the end of the session. Prefer rubber, hexagonal, well stable models. At home, it avoids unfortunate shocks (and sometimes Emma or Lucas go there... sports parents will confirm!).
- Measured progression: add 2 to 2.5 kg every fortnight depending on the sensations, without ever forcing if the discomfort is felt.
- Think about controlling your posture: a glance in the mirror, or ask someone in the home to validate.
- Material stability : do not neglect quality and adhesion, as these details make the difference.
In the end, focusing on sensation in the buttocks is better than aiming at a high number of kilos.
Choose your equipment and organize your space
Not everyone has a garage or a dedicated room; You have to manage your space intelligently, especially when the living room also acts as a gym (some, including me, have to push the toys before each session!).
What dumbbell? Handle, shape and safety
An ergonomic socket – neither too thin nor too broad – is essential. Hexagonal and rubber sheathed models hold well on the ground, reduce noise and cushion shocks. A compact rack is enough to create a home-based bodybuilding space: a six-seat rack allows you to store weights between 2.5 and 20 kg without disorder.
- Model steel 25 mm: suitable for low loads (heating up to 5 kg)
- 35 mm version: for weights of 7.5 to 60 kg, perfect for those who want to significantly increase their power
- Rubber structure: offers a better grip, reduces noise and enhances safety
In Lyon, for example, compact equipment and its clever layout have become quasi-systematic to maximize space while maintaining an orderly room. A raster worthy of this name proves to be a real asset on the hard.
Organization and storage at home
For urban rowers or those who operate in a shared apartment (with sometimes curious children in their legs...), opt for vertical storage. This trick reduces the risk of falling and clarifies the environment. A common ban: leave a pair of dumbbells on the ground, especially when the family circulates. A small rack or a specific box is often enough for 3 to 5 pairs.
FAQ: Common questions
We often go back to the same points, whether on the dockside or in a group session – here you will find the key points to progress without getting lost in the jargon:
To optimize your practice and strengthen your posterior muscles while maintaining muscle balance, explore this comprehensive resource on upper body strength: tips, methods and programs adapted to your progress.
To effectively complete your training and protect your joints, learn how to exercise pulley shoulder: the practical guide to muscle and protect your shoulders can strengthen your shoulders while ensuring a better posture.
To complete your session and strengthen your abdominal strap while protecting your back, discover the Ground leg lift: the safe and effective way to strengthen your abdominals.
Amplitude: how far down?
Come down as long as you can feel a satisfying stretch of ischios, but never at the price of a back that simmers. The amplitude depends on the mobility of each person, not on the ability to touch the ground: most stop at the tibia and it is perfectly coherent. The quality of execution always prevails over depth.
Lumbar pain, adaptation and progression
History of back pain? In this case, start with minimum loads (2.5 kg), pay constant attention to posture and adjust the number of repetitions (2×10 often proves preferable at the beginning). Integrate this routine smoothly, increasing by 2.5 kg every two or three weeks only if the technique remains solid. Some professionals even recommend keeping the same weight for time to root the gesture.
Equipment, storage and convenience at home
Exercise is easily available for domestic use, provided the environment is secure and equipment is systematically stored after use. The rack remains the essential tool to prevent dumbbells from accumulating or to ensure safety if children pass in the room. (I often heard families tell... a little misadventure avoided thanks to this simple accessory!)
- Opt for rubber-coated hexagonal dumbbells: increased stability and safety
- Adapt the choice of handle to the size of your hand for optimal comfort
There is no need to equip out of price: choose your dumbbells well and organize your strength corner is usually enough to observe real progress.
Bonus question: Is this exercise suitable if I train at home?
Absolutely. You won't need an Olympic bar or a professional platform. A few dumbbells of value and a well-ordered space allow everyone to work effectively. Besides, it is often the exercise that I recommend to all rowers when the rooms are closed or during unforeseen trips – simplicity often rhymes with consistency and results.
Express Glossary & Beginner Tips
Hip hinge : rocking movement of the pelvis, pillar of preservation of the lower back.
Amplitude : depth of descent, specific to the flexibility of each.
Lumbar locking : maintenance of the right back at all stages of movement, major security factor.
Beginner reflex sheet
- Start light (2.5 to 5 kg) and closely monitor your posture at each rehearsal
- Two sets of 10 to 12 repetitions: gradually adjust the load every fortnight
- Focus muscle sensation on appearance or visual performance – this small reflex changes many things in the long run
So why not integrate this movement into your routine? There is no need to reach an Olympic podium to make progress: the essential thing is consistency and good benchmarks, as a well-known physical preparer often slides on networks.
Quick comparison: bar vs dumbbells
Do you hesitate between raising Romanian soil at the bar or the dumbbells? Here is an overview of the points that tilt the balance (in practice, rowers sometimes asked to test both before deciding):
| Rolled Romanian earth bar | Upholstered Romanian ground dumbbells |
|---|---|
| Amplitude rather limited, possible risk of rounded back at end of series | More intuitive gesture, personalized amplitude, often enhanced security |
| Allows to lift a higher overall load, interesting for the development of pure force | Promote left/right balance and better accessibility for all levels |
| Demand large storage space, sometimes incompatible with home practice | Simple to store, flexible equipment and suitable for the living room as well as the room |
Ideas to go further
If the subject retains your interest or doubts remain:
- raised from Romanian earth bar
- raised from Romanian land beginning
- difference raised from Romanian and conventional land
- muscles required during the rise of Romanian soil
- variant legs strained
- frequent errors during the rise of Romanian soil
- video guides for technique
- adaptation on the work of the buttocks
- back and amplitude management
As coaches often recall, taking the time to explore different methods and deepen the technique is the assurance of progress while remaining listening to one's own feelings.
Updated on 21 March 2026